Pages - Menu

Showing posts with label Repix. Show all posts

Monday, 23 March 2015

Day 82 of 365 Day Challenge

I bought myself a a no-name brand x12 telephoto lens for my iPhone 6 and had my first opportunity to use it today. I didn't have huge expectations of it but I have been hankering after one for a while and it is not always easy to get top quality iPhone accessories in Hong Kong unless they are produced by Apple.

I was down by the City Hall and opposite they have some massive tents up for an exhibition. There were men harnessed to the tops getting ready to give it a wash. So I set up my little tripod which comes with the lens and iphone cover and took a couple of pics. I found it quite difficult to get the focus right on the lens at such a distance. My eyesight isn't the best anymore and I perhaps needed some reading glasses to do it better. I also took some pictures of the tents without the lens and in the end I choose the picture that was taken at a distance as the composition was better. The telephoto lens brought the subjects in just a fraction too close so I couldn't get the whole tent top in as well as the man on the harness. Anyhow I have included both.

Apps: Hipstamatic, Enlighten, Stackables (Repix instead of Stackables for the second picture)


Wednesday, 4 March 2015

Day 63 of 365 Day Challenge

It's nasty outside today - rainy, grey and foggy - and I haven't got my daily photo yet and it's 4pm! I went out this morning and had the opportunity to photography some beautiful cut flowers but was distracted and then forgot. Now what.

I was at the library this morning and took out a book on etching because I thought some of the ink outlines were interesting and wondered if I could incorporate this into my photo manipulations.

Here are three variations of the end result and I think the first is my favourite although I quite like the third one which looks a bit like a watercolour. Below that is my process.

PROCESS:

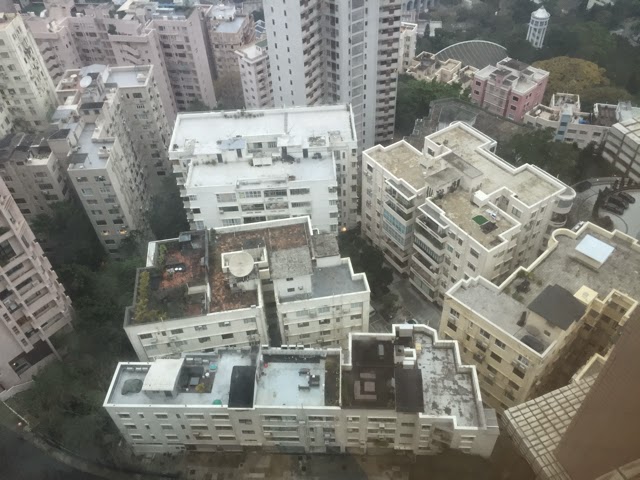
I decided to take a photo with my iphone of the roofs that we look down on because I thought sketching buildings would be interesting. I squared the photograph in Snapseed and tuned it up a bit and then took it into SketchClub. I created a layer above the photograph and proceeded to draw the outlines. Sometimes I was careful and sometimes a little scrappy but fairly accurate and just detailing the bits that stood out to me.

Original

Sketched Outline
I then took the original picture into Repix, I used the harsh Posterise and then Freshen to get this:


I took the sketched version into Photoshop Touch and removed the white using the magic wand. I then took both of these pictures back into SketchClub, overlaided the pen work and saved the result.


I could have left it at this stage but it didn't feel finished to me so I took it into iColorama and tuned it a bit using the Adjustment options. I then tried various transformations and the ones you see at the start are in order: Coherence>2, Painterly>Shock and Simplify>7 with opacity reduced by about a third.

Thursday, 5 February 2015

Day 35 of 365 Day Challenge

Today's Picture: Model Mania
Wow, now for something completely different. Yesterday was a day of rushing around in the city getting things done and photography was the last thing on my mind. I got back home with 3 measly pictures compared with the over 130 I had taken the day before!

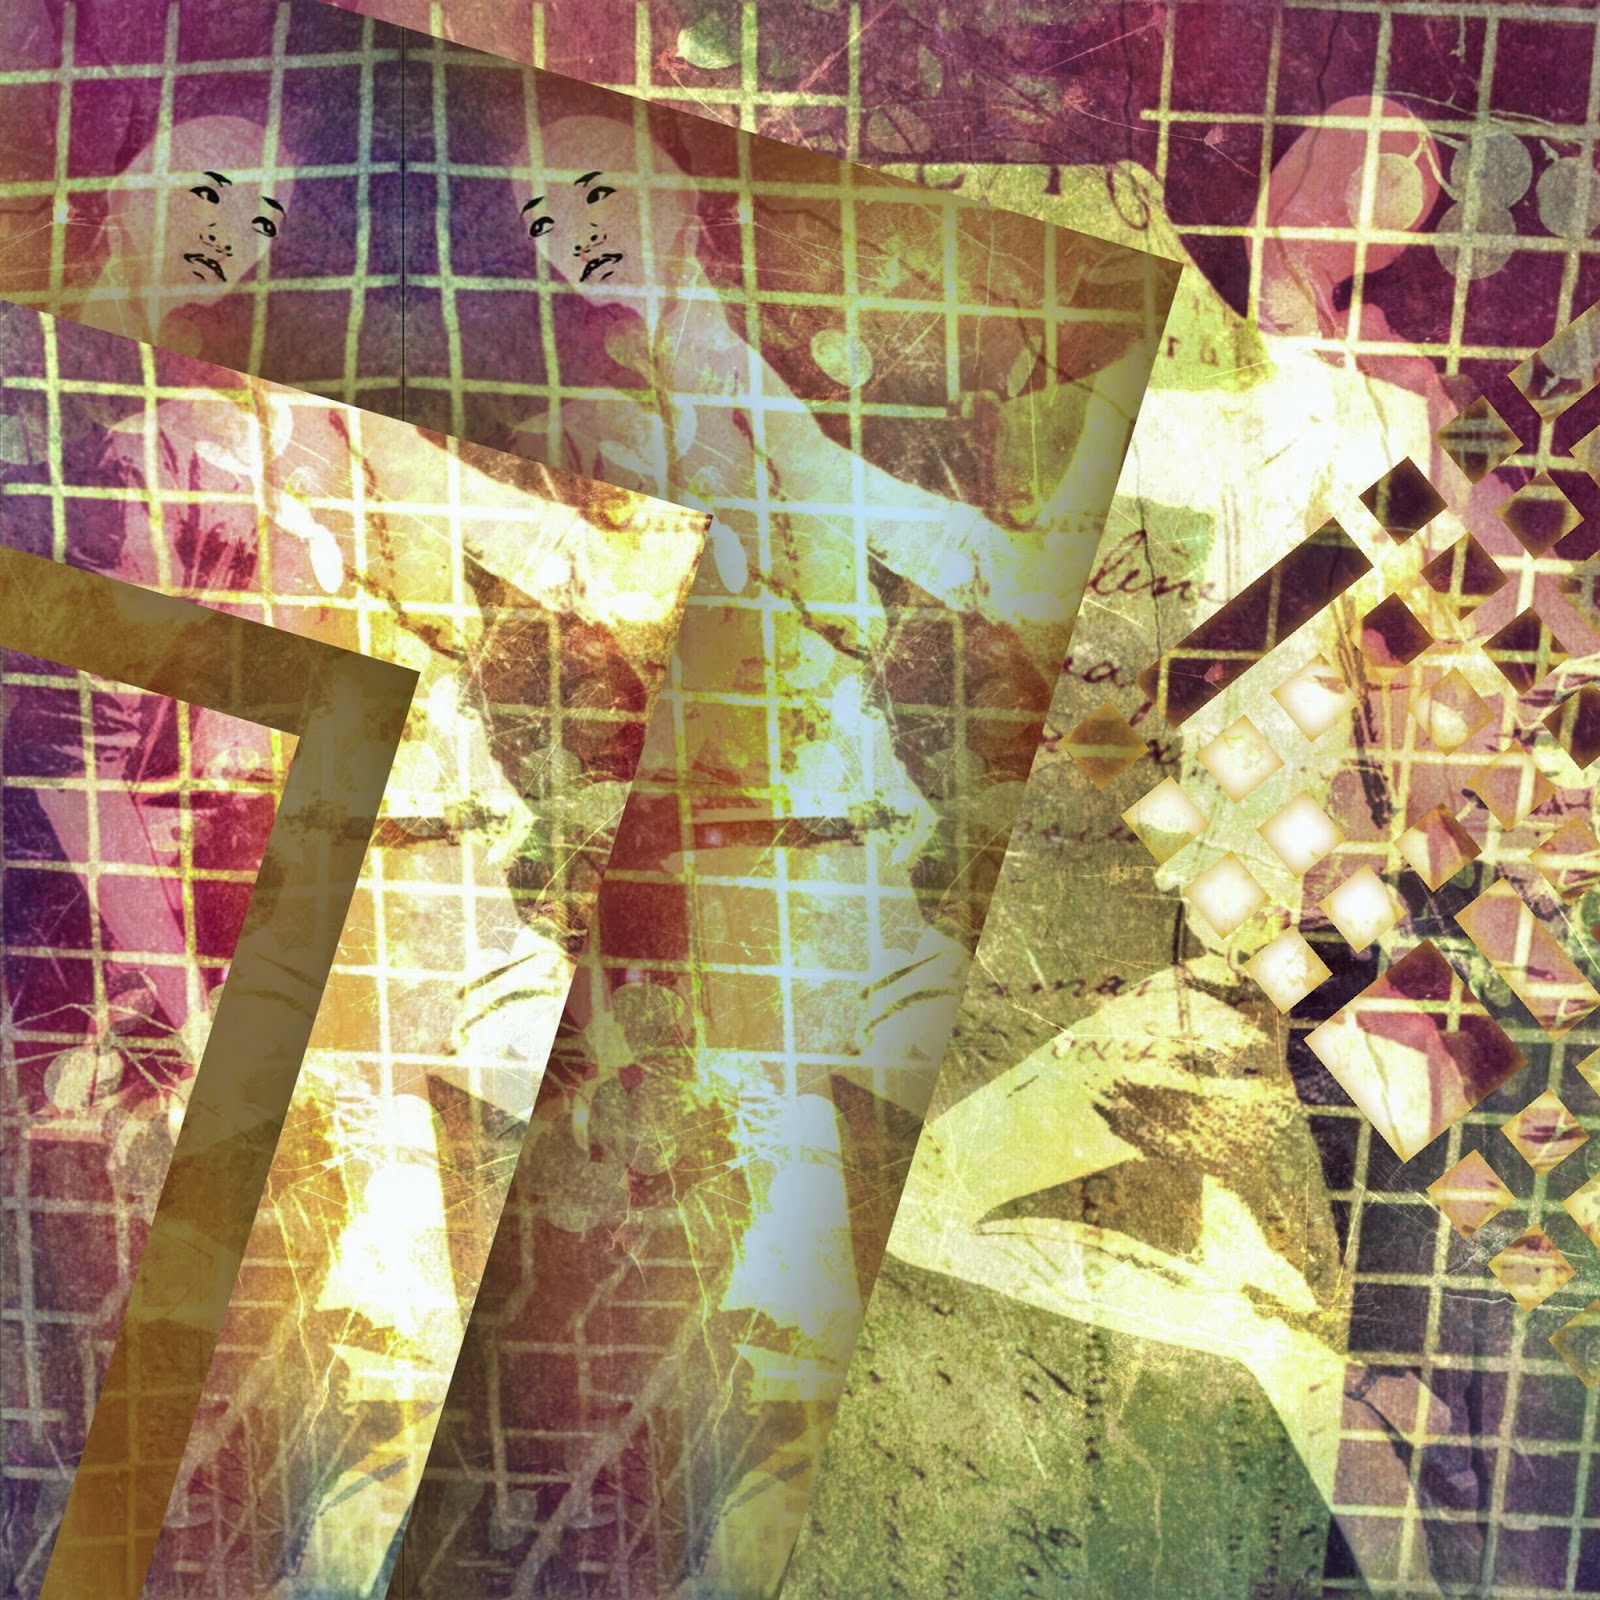
One of the three pictures was of a seamstresses' mannequin which was, of all places, in the ladies loo of a quirky coffee shop. I had taken pictures of quite a few dummies in the windows of shops at the mall the previous day and decided to create an abstract picture. I ended up using three pictures I took the day before and the mannequin I took today:

Looking at the pictures you would probably wonder what you could do with such a mottley lot. Well, I started off cropping the silver tree display and the mannequin and combining them in iColorama using the Effects>Mixer option and then taking it into Stackables to apply one of my own texture formulas:

Then I cut out two of the dummies from the first picture using both Photoshop Touch and Superimpose. In Photoshop Touch I then applied the Old Photocopy effect. Back into Stackables where I edited the Time Travel formula adding a further layer of blue:

Back into iColorama to use the Mixer again and combine the last two images. This is when I cut out the face of the lady in the coffee shop using Superimpose and applied Edges and Coherence to the face in iColorama to get a smooth black and white face. Back to Mixer to add the face to the first dummy.  I made some small changes in Repix but it still looked a bit plain so I took it into the app, Fragments, and added two fragments. Final tweeking in Snapseed. Phew.

Wednesday, 14 January 2015

Day 14 of 365 Day Challenge

Walking back from the city after a meeting, I took some city shots with Hipstamatic but I hadn't realised that my iPhone had shaken and changed the settings and most of the pictures I took were a red tinge which was just awful. I must get rid of that film, I really don't like it at all. Anyway, fortunately I had discovered this half way through my walk home and decided to walk back through a park to try and get my shot for the day.

Well, there was a little girl going around and around the fountain on her little scooter and I just had to have a picture of this. I am always a little reticent about taking pictures of children but they are wonderful subjects. So I chose a spot and waited for her to come around again. At the same time a little boy ran into view and as she came around he peaked out and looked at her. It was such a cute photo I had to try and do something with it.

The children were quite a distance apart so to make the picture square I first had to take it into Handy Picture to increase the top with the resize option. I am always enthralled by the way it just adds onto the top to match the picture. It made a couple of mistakes but this was easily corrected with the retouch button. Next, I went into Snapseed to use the Tune Up option.

What next?? From now on it was all iColorama. I wanted to give it more of a picture book appearance because there were children in it so to do this, I first chose Style>Edges and choose the Edges option I liked.  Then I returned to the original and used Style>Simplify>, number 2 but I put a mask over the children so that they remained sharp and applied and saved it. Then I blended the two with the mask still on so that the children were still the original but the background was more 'cartoonish'.

Then came the clever bit. While keeping the mask on I went to Preset>Borders and choose number 6 I think and turned down the opacity slightly. This made the children look as if they were on the fringes of the scene. Lastly I just blurred out the little boy's face in Repix as he is a child. Here is the result: