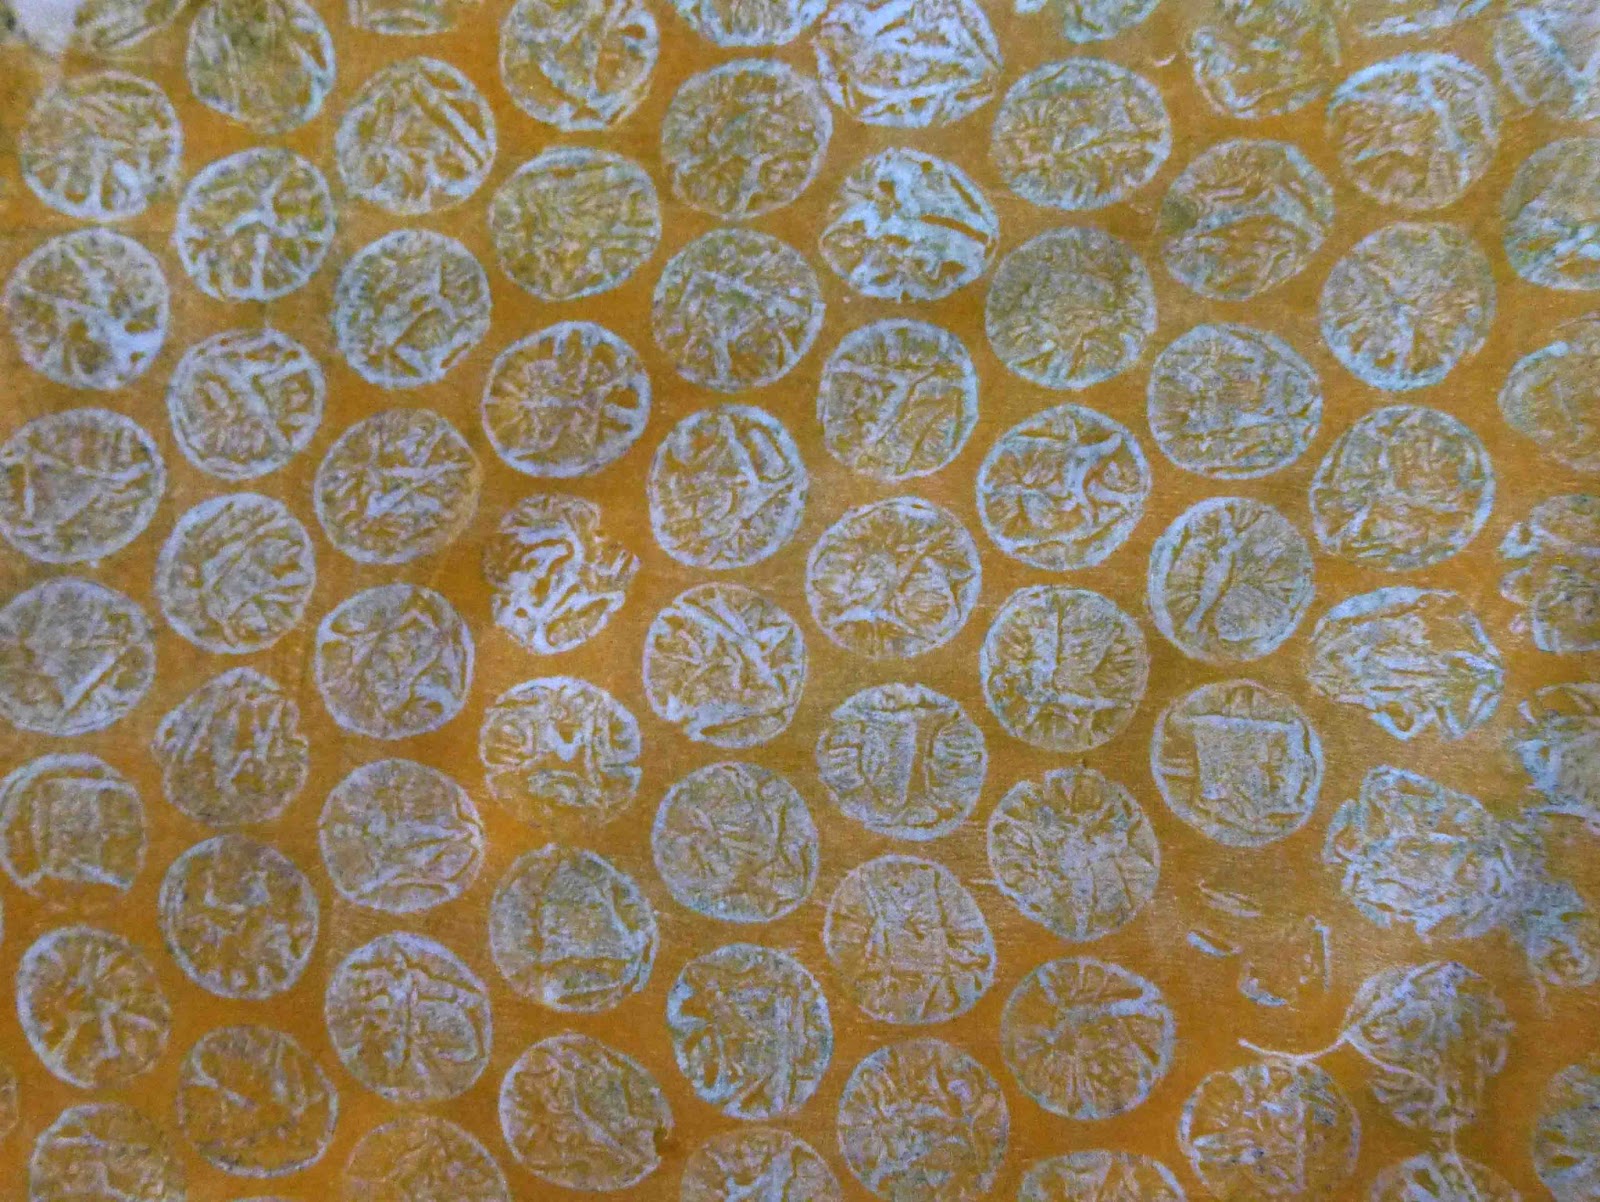
I bought myself a gelli plate last year in the US because you couldn't get them here in the UK at the time. It has been sitting in my cupboard, waiting to be used. Suddenly, it seems that everybody is using them, teaching with them, painting with them - they've gone viral!
So, I thought, okay time to see what this gelli plate malarkey is all about.
Went out and got myself some vegetation and put together some mark making tools.
It wasn't as easy as it looks! It needs a bit of practise and organisation. Here are a couple of things that I learnt from my first run:
- Don't use copier paper. It buckles and there is
nothing more soul destroying (particularly with this craft) than getting a
decent print on a lousy piece of paper. It also tends to stick to the
plate if the paint has dried a bit. Instead I used a 50 sheet pad of
cartridge 120gsm and it worked nicely.
- Expect that there is only going to be 1 good print for every 5 bad although I hope with practice this will improve!
- When you clean your plate, do the final dry with a fabric
cloth/towel. The first time, I patted a paper towel on it for the final
dry and took the next 10 minutes trying to scrap it off!
- Don't use paper stencils. Again, horrible to get off the gel plate
and in the meantime the paint has dried so you don't get a ghost print.
Also, fatally I used a paper stencil with a previous layer that was wet
and couldn't get it off my original - gutted. I had some acetate
stencils that I made some while back and they worked great.
- I found that a smaller brayer worked better than a big one but might just be me.
- I tended to clean the plate inbetween prints because otherwise the
previous layer sometimes dried and you don't get crisp mark making.
Here are some of my prints:
The second and fifth are ghost prints and on the fifth you can see the white scratch marks caused by trying to get the paper stencil off the plate.
Ah, but the big thing for me is using them in Photoshop Elements. I took a picture of the leaves that I had used because they looked so pretty:
And then I blended this photo with the third and sixth prints to get these manipulations (also changed the levels and colours). Some of them would probably look better in portrait: